
In a previous blog, we discussed the concept of nodes in the blockchain. In this blog, I will guide you through configuring an Ethereum node.
Ethereum Node
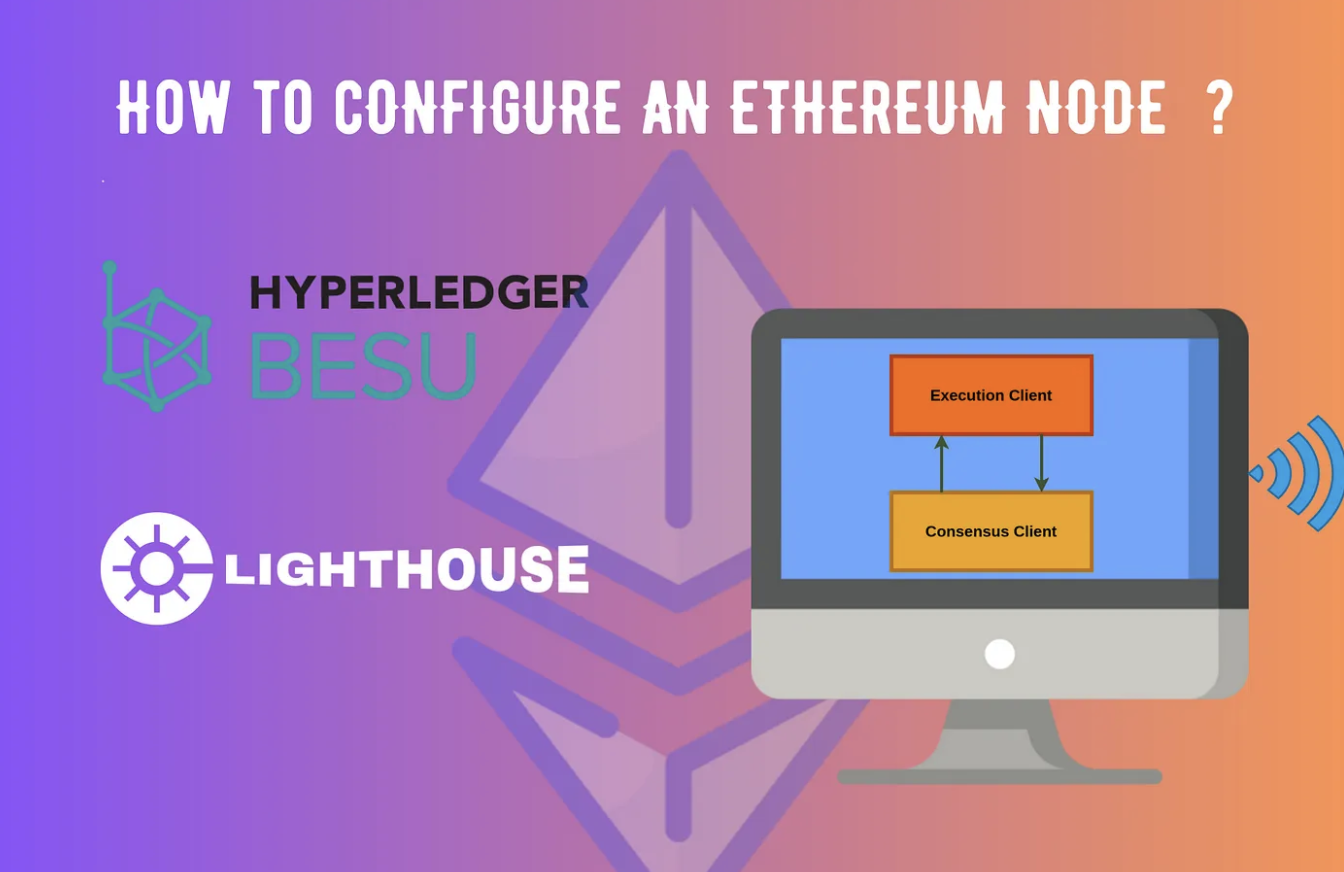
A node in Ethereum consists of two components: execution client and consensus client.
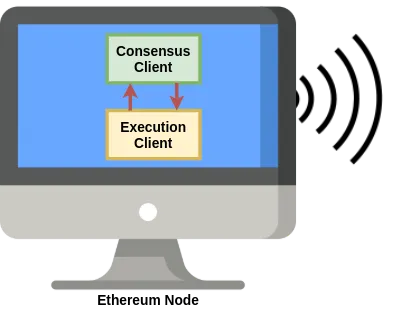
The execution client (Execution Engine, previously called Eth1 client) listens to new transactions broadcasted in the network, executes them in EVM, and holds the latest state and database of all Ethereum data. Geth, Nethermind, Hyperledger Besu and Erigon are currently available execution clients.
The consensus client (Beacon Node / CL client, previously called Eth2 client) implements the proof-of-stake consensus algorithm, which enables the network to achieve agreement based on validated data from the execution client. Lighthouse, Lodestar, Nimbus, Prysm and Teku are some of the available consensus clients.
Prior to the merge Ethereum nodes consisted of only the execution layer which took care of Proof of Work consensus also. The merge finalized the transition of consensus from proof of work(PoW) to proof of stake(PoS). The PoS consensus-related tasks were managed by the consensus client, and deprecated the PoW functionality in the execution client.
In this short tutorial, I will demonstrate how to configure an Ethereum client in Ubuntu 20.04.4. We will use Hyperledger Besu as the execution client and Lighthouse as the consensus client. You may use any combination of execution and consensus clients.
Installation
Java Installation
Since besu is based on Java, ensure you have Java installed. If not, update and install Java using the below commands.
sudo apt update
sudo apt install openjdk-17-jdk
Ensure that Java has been installed successfully by doing a version check.
java --versionBesu Installation
Download the latest version of binaries from https://github.com/hyperledger/besu/releases. Here I am using Hyperledger Besu 23.1.2.
wget https://hyperledger.jfrog.io/hyperledger/besu-binaries/besu/23.1.2/besu-23.1.2.zipThe above command will download the compressed folder. Once the download is complete, unzip the contents into a new folder named besu.
If you do not have unzip command, install using apt install unzip
unzip besu-23.1.2.zip -d besuSwitch to the besu folder and list the files to confirm the installation.
cd besu
ls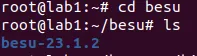
Switch to the besu subfolder and confirm the besu version using the command.
./bin/besu --version
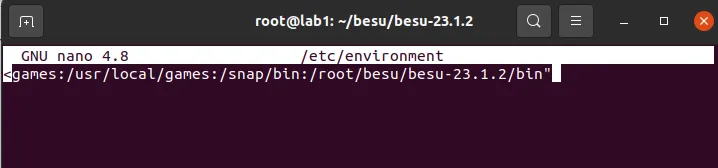
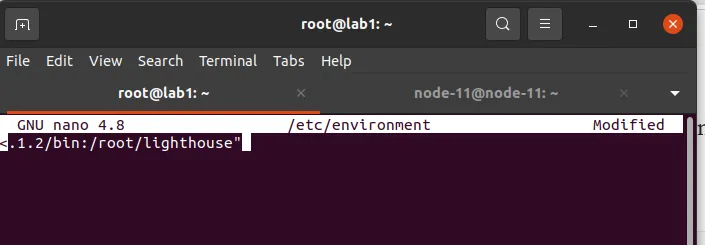
To change the command from ./bin/besu to besu, we should provide the full path of besu’s bin directory in the environment file. First, use the below command to display the full path of besu (present working directory) and copy it.
pwdNext, open the environment file using the command
sudo nano /etc/environmentand append the copied path(including the bin folder) at the end of the current data.
Note: Editing the environment variable can also be done by the command:
echo ‘export PATH=$PATH:/root/besu-23.1.2/bin’ >> ~/.bashrc
Now restart the system.
Can’t wait till your system restarts? Just give the command
source /etc/environment in the terminal, it will refresh the system environment only for the open terminal.
Confirm the changes are complete by checking the version.

Install Lighthouse
Download the latest version from this link, extract the contents, or use the commands below.
wget https://github.com/sigp/lighthouse/releases/download/v4.0.1/lighthouse-v4.0.1-x86_64-unknown-linux-gnu.tar.gz
tar -xvf lighthouse-v4.0.1-x86_64-unknown-linux-gnu.tar.gz 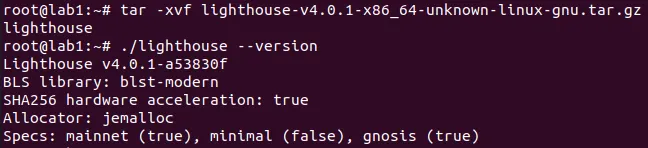
To change the command from ./lighthouse to lighthouse, edit the environment file as described previously.
JWT Token Generation
The execution and consensus clients authenticate each other using a 32-byte hexadecimal value called JSON Web Token (JWT secret). Before configuring the clients, let’s create the token.
You may also create it using any generator like seanwasere generator. Some clients have an inbuilt facility for token generation. You can also create a random number yourself.
I am using OpenSSL, a toolkit for cryptographic functions, to generate the token. It will be available by default in most Linux versions. If you do not have OpenSSL, please check this link for installation guidelines: https://www.openssl.org/source/.
openssl rand -hex 32 | tr -d "\n" > jwtsecret.hexThe secret code will be available in the file jwtsecret.hex.
Starting the execution client
To start the execution client, we need to specify some configuration attributes. For this, create a config.toml and copy the below content.
network="MAINNET"
data-path="./data"
rpc-http-enabled=true
rpc-http-host="0.0.0.0"
rpc-http-cors-origins=["*"]
rpc-ws-enabled=true
rpc-ws-host="0.0.0.0"
host-allowlist=["*"]
engine-host-allowlist=["*"]
engine-rpc-enabled=true
engine-jwt-secret="./jwtsecret.hex"
The configuration specifies the path to store synced data, enables HTTP and web socket communications from external sources and allows engine API services (intercommunication between execution and consensus layers).
Use the below command to start besu.
Make sure that you are in the folder containing config.toml.
besu --Xlauncher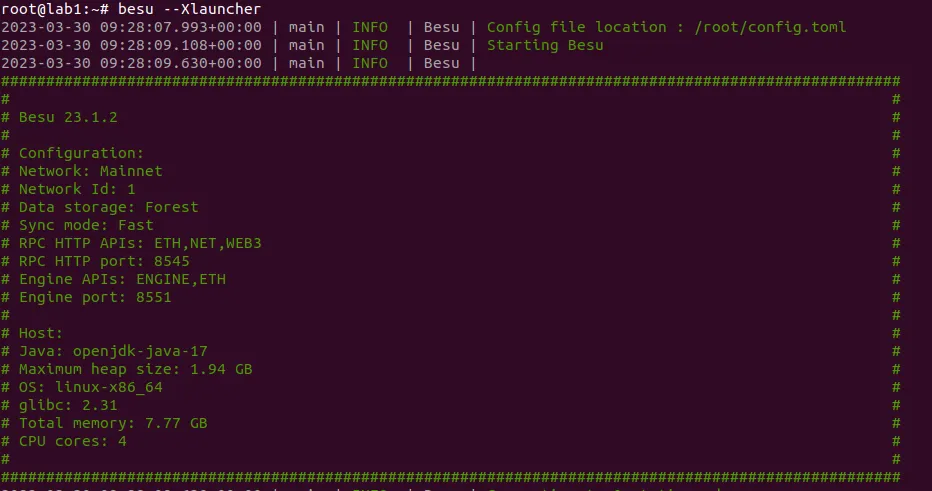
From the terminal information, note the Engine port (8551). Next, we can configure the consensus client to connect with this execution client.
Starting the consensus client
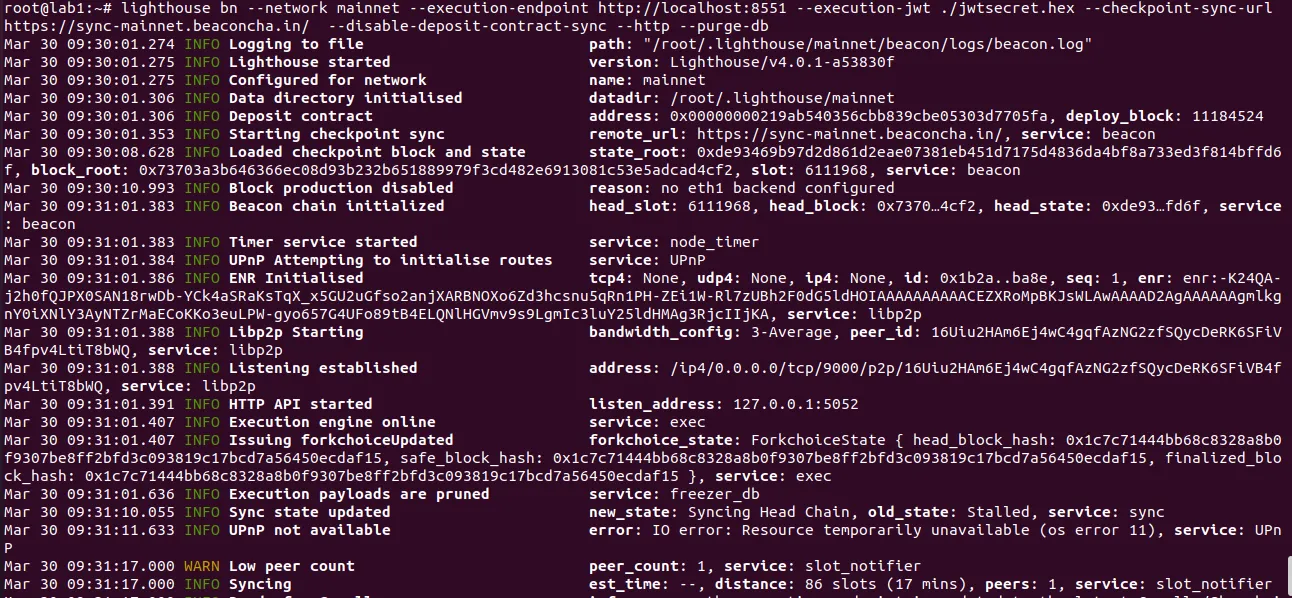
Open a new terminal in the same location and use the below command.
lighthouse bn
  --network mainnet
  --execution-endpoint http://localhost:8551
  --execution-jwt ./jwtsecret.hex
  --checkpoint-sync-url https://sync-mainnet.beaconcha.in/
  --disable-deposit-contract-sync
  --http
  --purge-db
It will instruct the lighthouse to try to connect with the present execution client, running at port number 8551. The checkpoint sync endpoints are available here. You may use any endpoints for syncing. The deposit contract syncing is disabled since we are not participating in staking. If the consensus client is stopped and restarted, there can be some errors with checkpoint syncing; the purge-db flag is used to deal with this situation.
According to the network, the time taken for syncing will be different. You can use the testnets goerli or sepolia, where the sync times are shorter. To switch to test networks, update the network parameter and checkpoint-sync-endpoints.
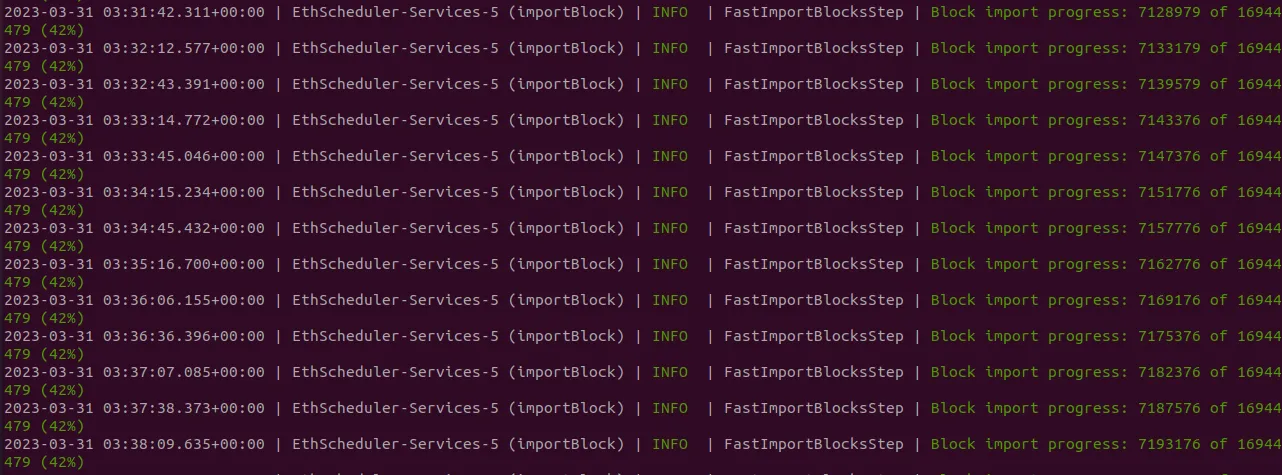
Within a short time, Besu and Lighthouse can connect. The clients will try to sync with the other peers in the network. The updates will be visible in the terminal.

Can you identify the sync mode which we are using? Running a full node can be heavy since the hardware/software requirements to manage it effectively can only be met with effort.
There are various methods to interact with the running node. Application Programming Interfaces (APIs) define methods to query a node. This will be covered in the next blog. Stay tuned.
References
[1] https://lighthouse-book.sigmaprime.io/intro.html
[2] https://besu.hyperledger.org/en/stable/
[3] https://ethereum.org/en/developers/docs/nodes-and-clients/#why-should-i-run-an-ethereum-node
(By Sumi Maria Abraham, Research & Development Engineer, Kerala Blockchain Academy)
Read more: https://kbaiiitmk.medium.com/how-to-configure-ethereum-node-152436897536


All Comments